Files and the Azure Cloud. This post is about how to upload multiple files from a local directory “recursively” to Azure Blob Storage with the Azure CLI 2.0 from macOS/Linux. For the Windows platform, AzCopy is a awesome command-line utility designed for copying data to and from Microsoft Azure Blob, File, and Table storage using simple commands with optimal performance.
You can download the latest version of AzCopy.
The basic syntax for AzCopy commands is:
AzCopy /Source:<source> /Dest:<destination> [Options]
If you want to upload multiple files, you need to use option /S. Specifying option /S uploads the contents of the specified directory to Blob storage recursively, meaning that all subfolders and their files will be uploaded as well. Below is an example where all files and subfolders from the C:\myfolder will be uploaded to the mycontainer container in your Azure Blog Storage account:
AzCopy /Source:C:\myfolder /Dest:https://myaccount.blob.core.windows.net/mycontainer /DestKey:key /S
For further info. please see Transfer data with the AzCopy Command-Line Utility.
macOS/Linux Link to heading
So I often use macOS Sierra or different Linux distributions and AzCopy is not available for those OSs. However, the Azure CLI is a suitable alternative for copying data to and from Azure Storage on those platforms. Use the following links to learn more on how to Install Azure CLI 2.0 and Using the Azure CLI 2.0 with Azure Storage.
Basically you upload a blob to a container by using the blob upload command:
az storage blob upload -f <local_file_path> -c <container_name> -n <blob_name>
With the Azure CLI there is no option or argument to upload the contents of a specified directory to Blob storage recursively!
For every year I needed to upload all files in each folder and keep the folder structure in Azure Blob Storage.
So here is how I implemented what I needed using a bash script:
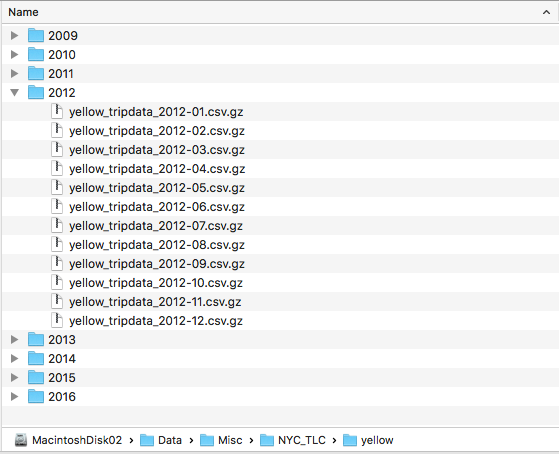
To simply I already had created my container named ‘nyc-tlc-sf’, the files that I needed to upload were located in the following folder (disk) on my Mac ‘/Volumes/MacintoshDisk02/Data/Misc/NYC_TLC/yellow/’ and most importantly I wanted to create a directory structure to help better explore and manage my blobs in Azure… here is a good post (old but still relevant) from my friend Alexandre Brisebois -> Benefit of Using Directories in Windows Azure Blob Storage Service.
#!/bin/bash

export AZURE_STORAGE_ACCOUNT='PUT_YOUR_STORAGE_ACCOUNT_HERE'
export AZURE_STORAGE_ACCESS_KEY='PUT_YOUR_ACCESS_KEY_HERE'

export container_name='nyc-tlc-sf'
export source_folder='/Volumes/MacintoshDisk02/Data/Misc/NYC_TLC/yellow/2012/*'
export destination_folder='yellow/2012/'

#echo "Creating container..."
#azure storage container create $container_name

for f in $source_folder
do
  echo "Uploading $f file..."
  azure storage blob upload $f $container_name $destination_folder$(basename $f)
done

echo "List all blobs in container..."
azure storage blob list $container_name

echo "Completed"
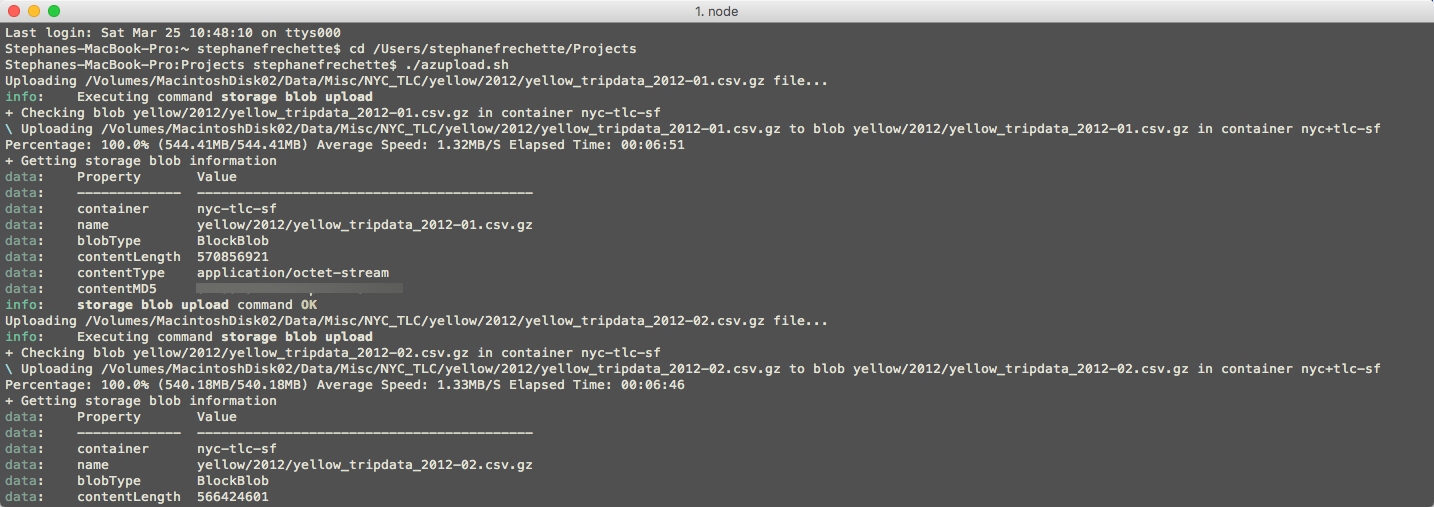
Screen capture of script executing…
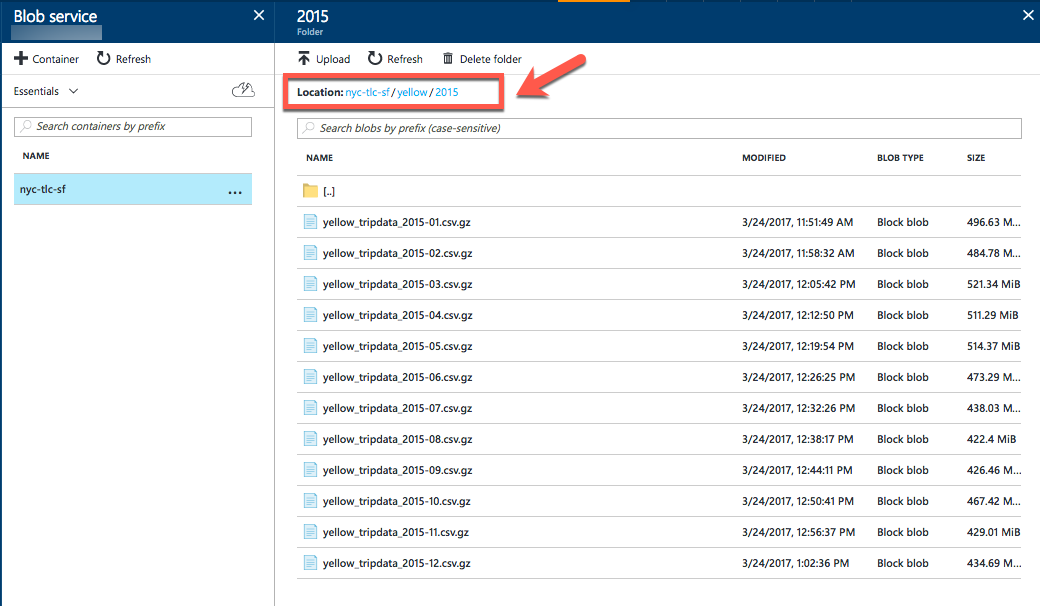
Container directories (hierarchies) in Azure Blog Storage
Use script and modify accordingly to your needs – Enjoy!